Connect Mailchimp with Framer Forms
Capture leads from your Framer forms and automatically add them to your Mailchimp audience using the Forms Plugin.
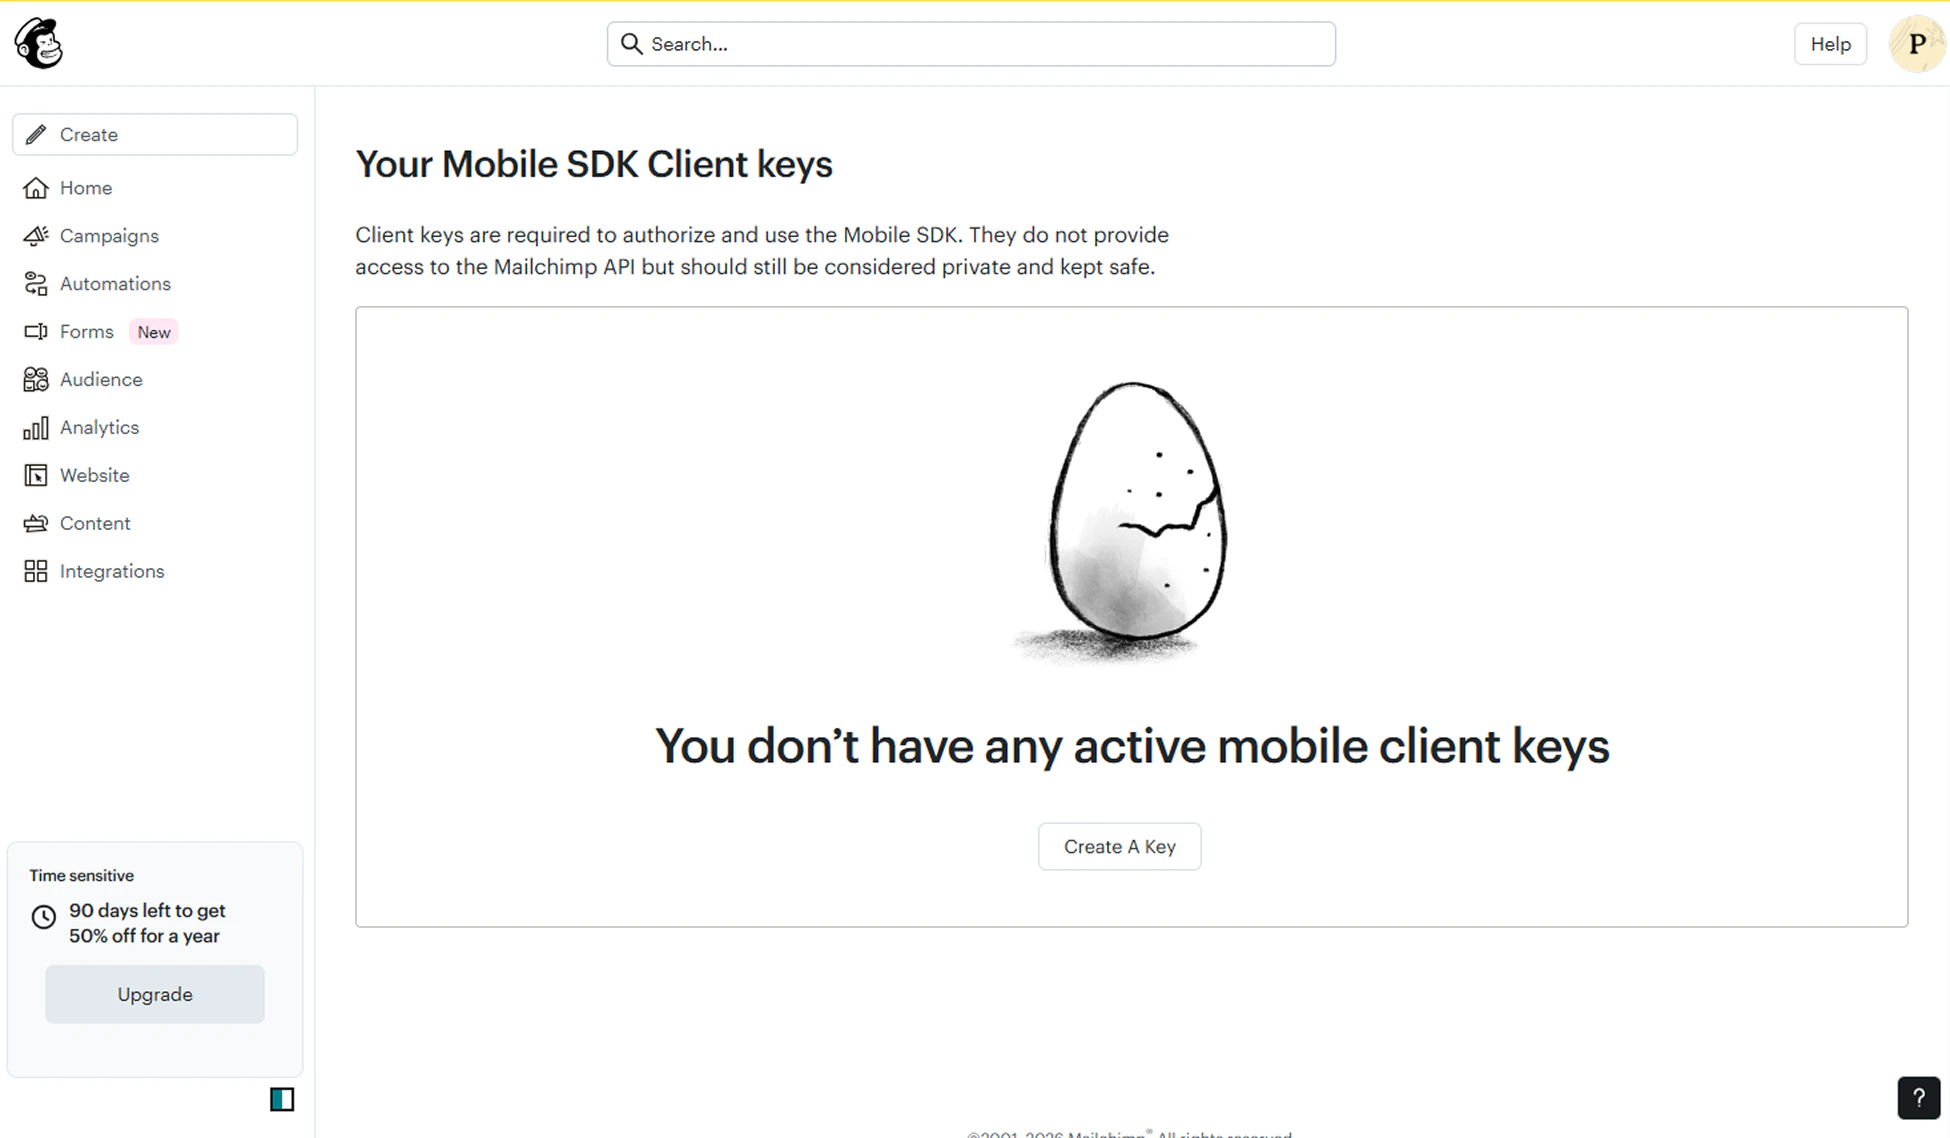
Step 1 - Get Your Mailchimp API Key
Before connecting Mailchimp to your form, generate an API key from your Mailchimp account. This API key allows the Forms Plugin to securely send form submissions to your Mailchimp audience.
- Login to your Mailchimp account
- Navigate to Profile → Extras → API Keys
- Click Create A Key
- Copy the generated API key
Keep your API key in a secure password manager. Never share it publicly or commit it to a code repository.
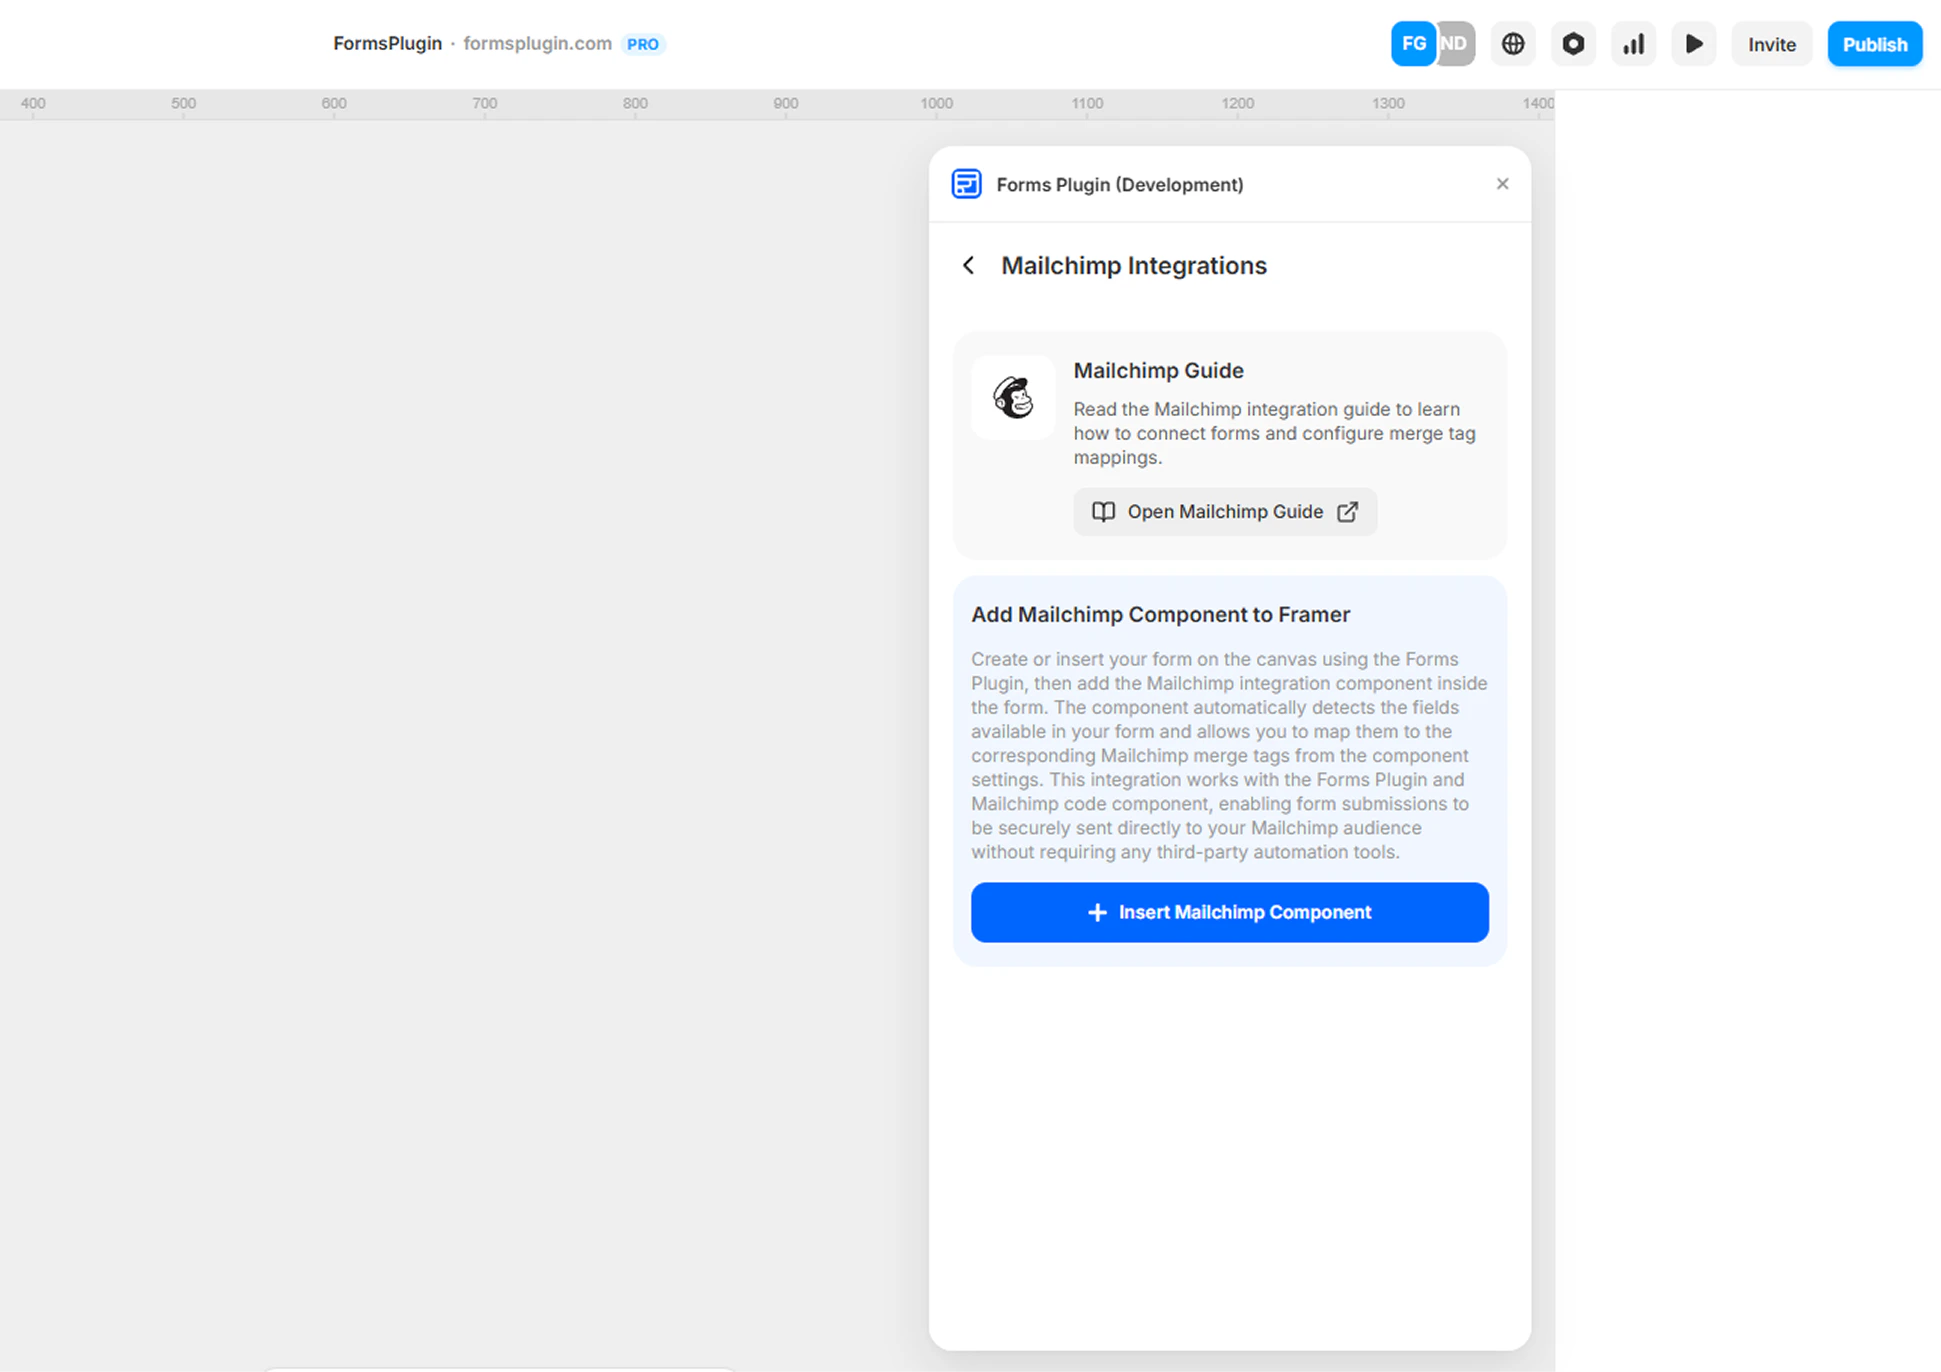
Select your form in the Framer canvas and insert the Mailchimp component.
The component connects your form to Mailchimp and automatically detects the form fields in your form layout.
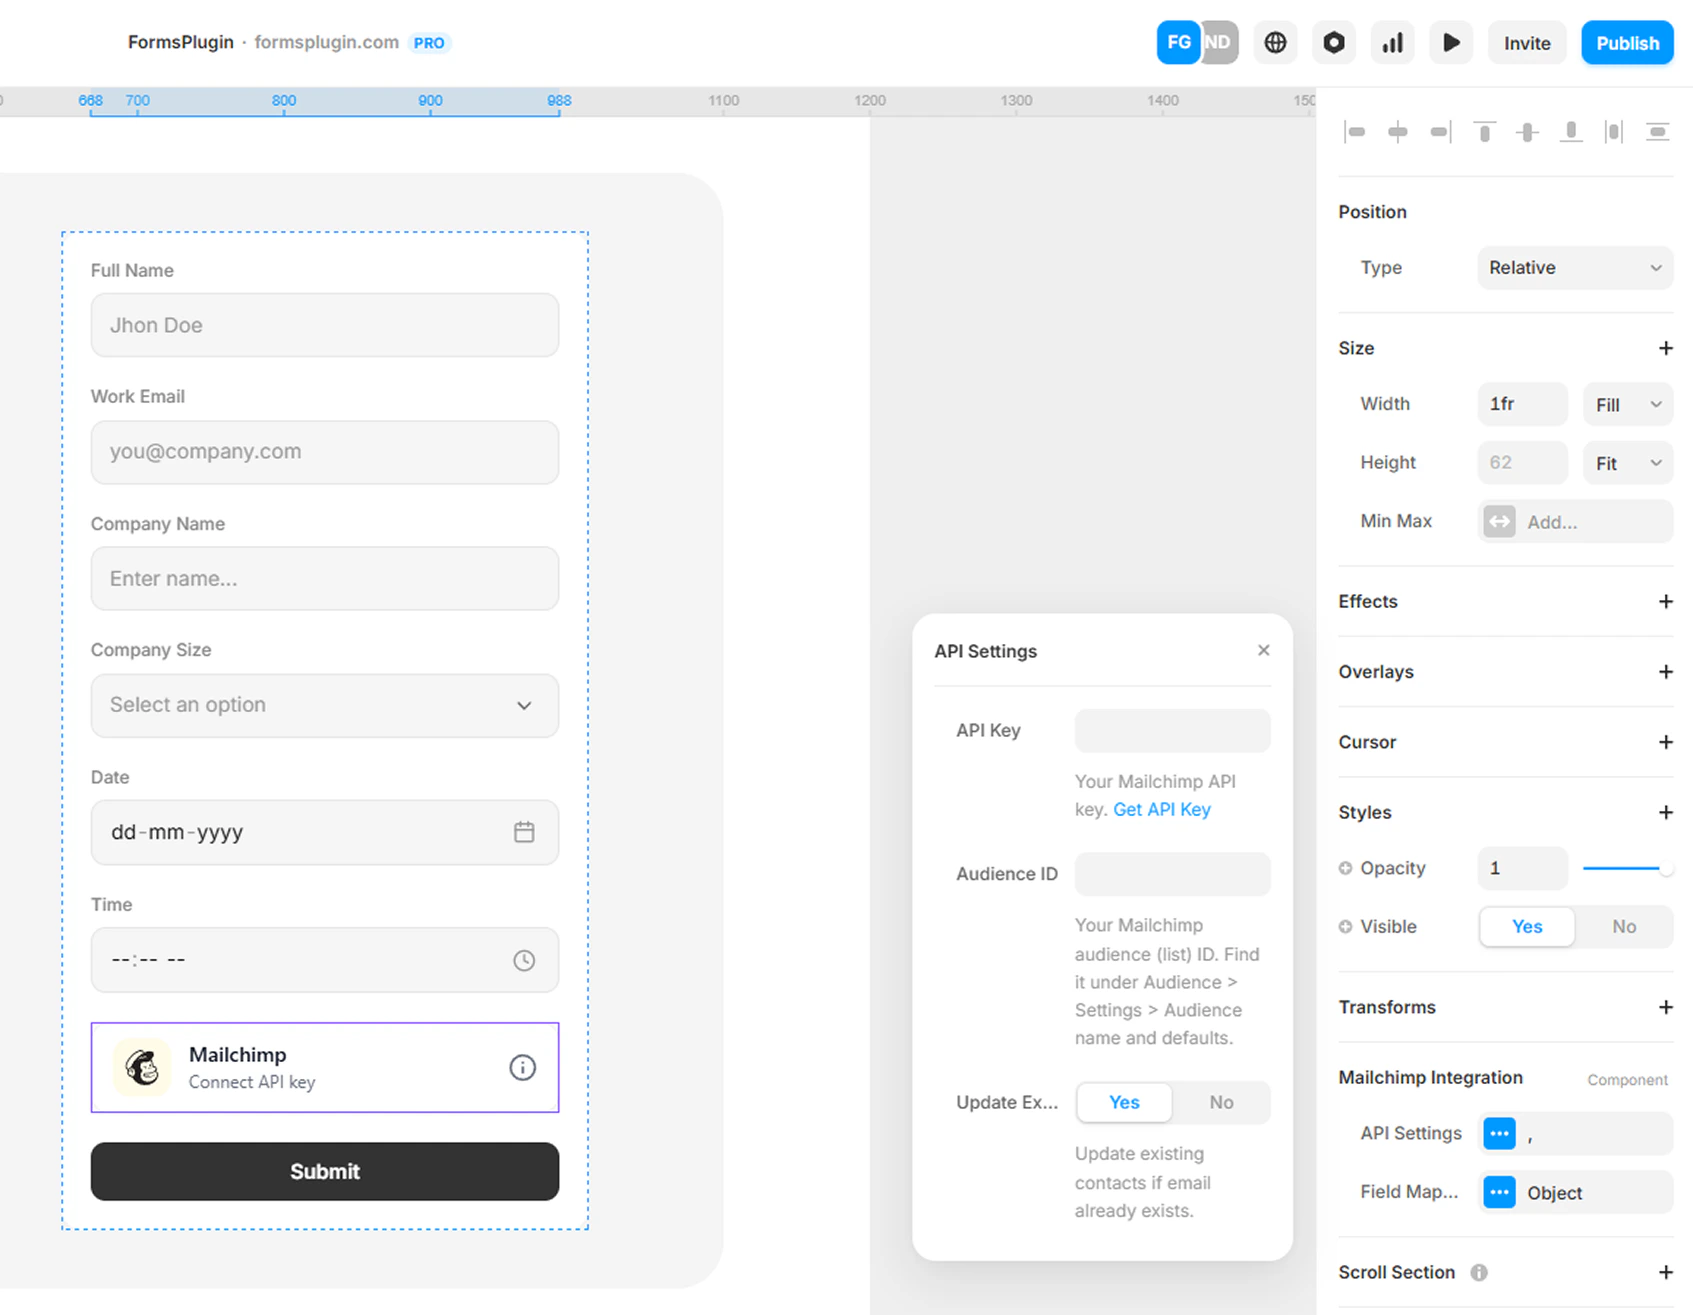
After inserting the Mailchimp component, configure the API settings in the component properties panel.
- Select the Mailchimp Integration component in your form
- Open the properties panel on the right side
- Paste your Mailchimp API Key
- Enter your Audience ID (List ID)
Required Fields
- API Key - Paste the API key generated from your Mailchimp account.
- Audience ID - Enter the Mailchimp Audience ID (also called List ID) where new subscribers should be added.
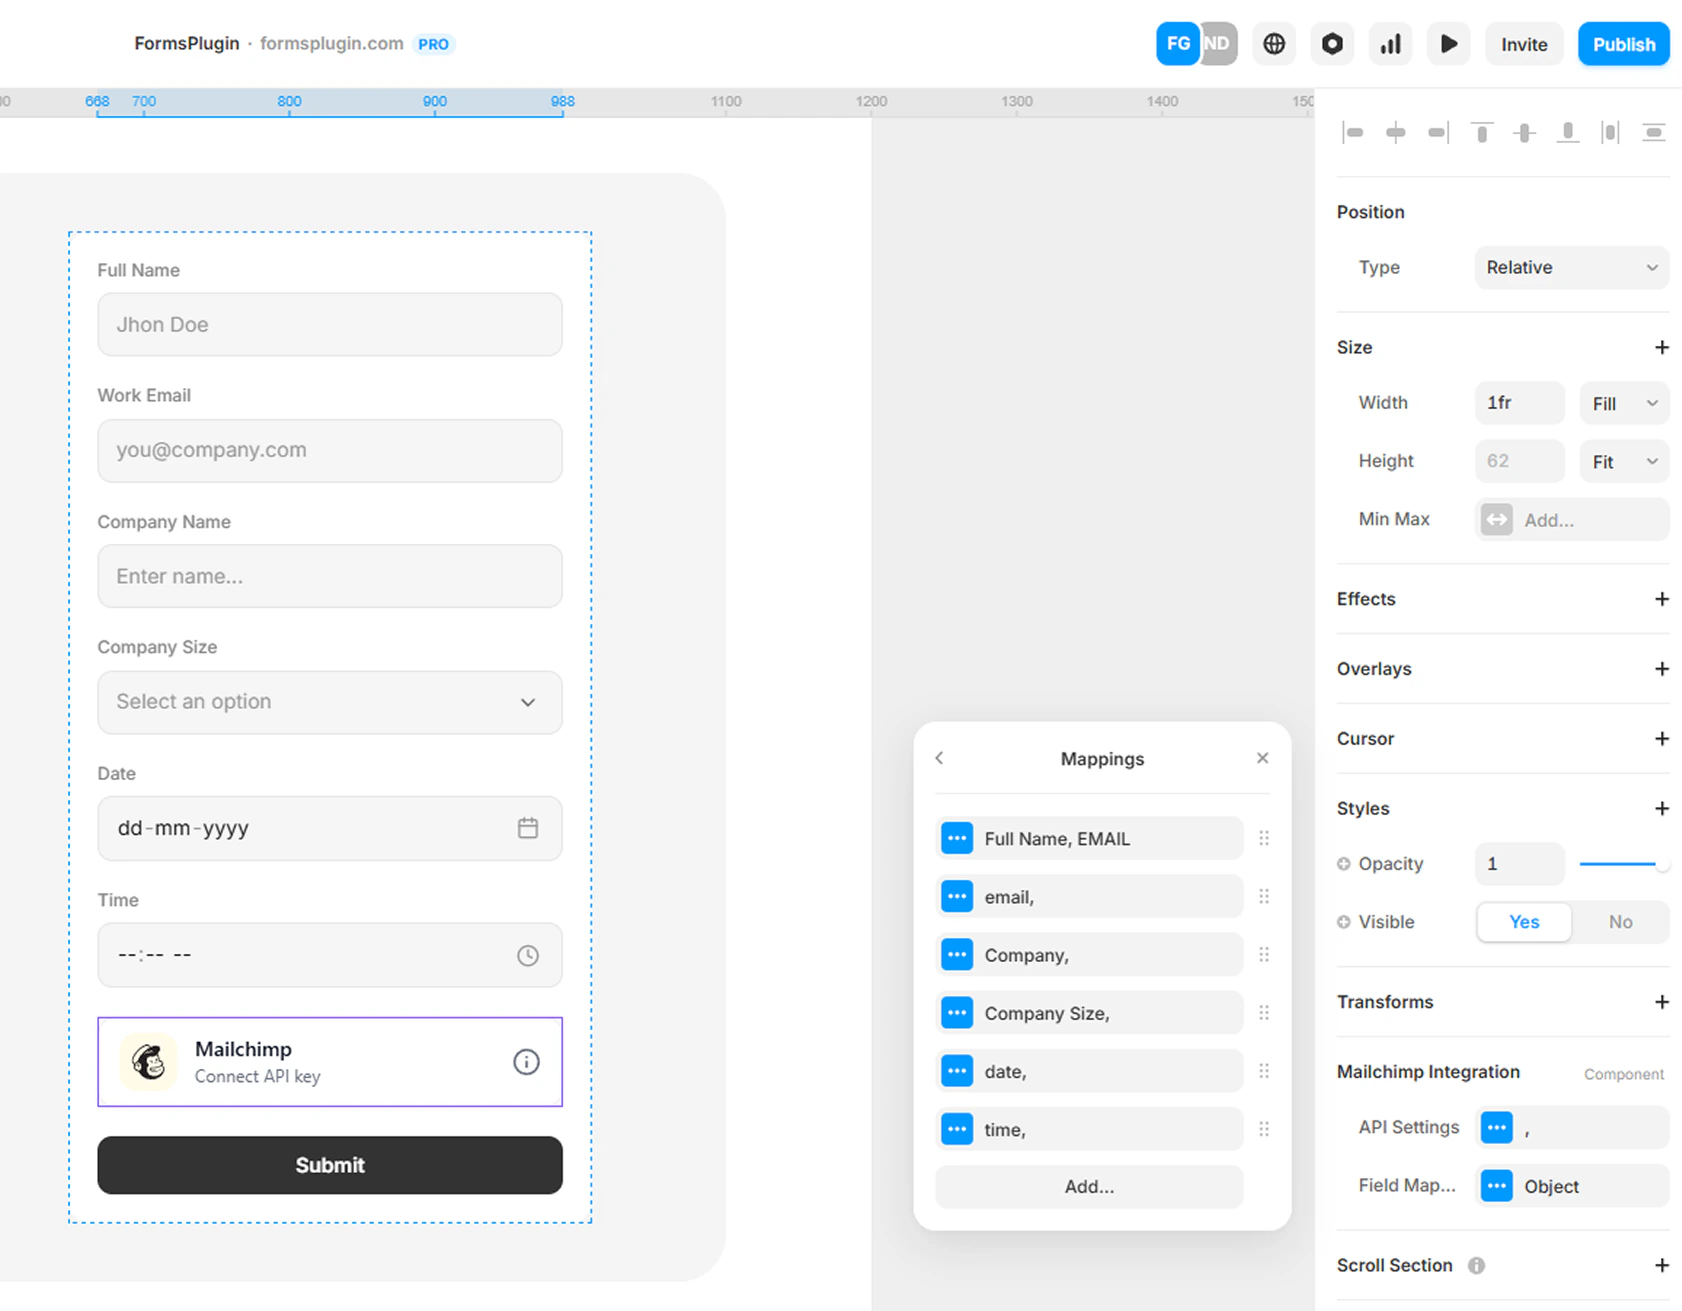
Map your form fields to Mailchimp subscriber attributes.
The component automatically detects your form field names. You simply connect each field to the correct Mailchimp attribute.
Example Mapping
| Form Field | Mailchimp Attribute |
|---|
| email | EMAIL |
| firstname | FNAME |
| lastname | LNAME |
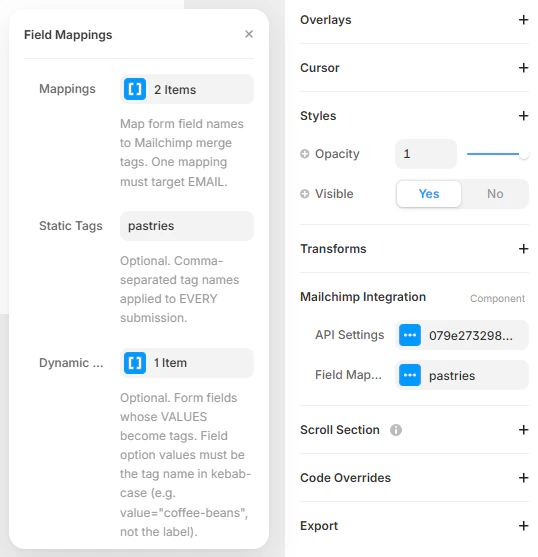
Tags help you segment subscribers in Mailchimp. The Forms Plugin supports two ways to apply tags from a single form: Static Tags that are applied to every submission, and Dynamic Tags that are derived from a form field’s selected value.
Use Static Tags when you want the same tag(s) applied to every submission from this form - for example, tagging every signup as pastries, newsletter, or framer.
- Open the Field Mappings panel for the Mailchimp component
- In the Static Tags field, enter one or more tag names separated by commas (e.g.,
pastries, newsletter)
Static Tags are great for identifying the source of a subscriber (e.g., landing-page, pricing-page, webinar) so you can build segments and automations in Mailchimp later.
- Open the Field Mappings panel for the Mailchimp component
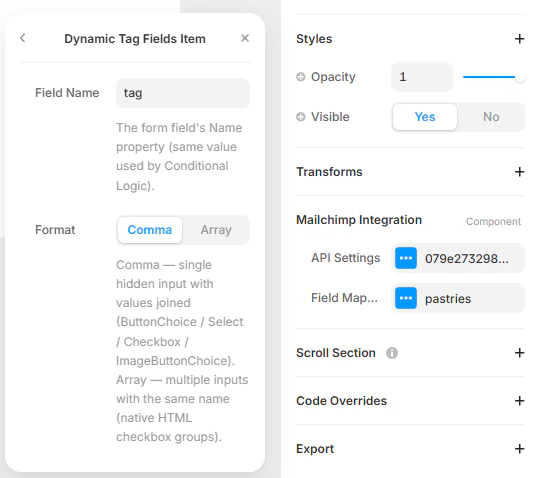
- Click Dynamic Tags to add an item
- Enter the Field Name - this must match the form field’s
Name property exactly (the same value used by Conditional Logic)
- Choose a Format based on the field type (see below)
- Repeat to add multiple fields if needed
The Format option tells the plugin how to read values from the form field:
- Comma - Use for fields that submit a single hidden input with values joined by commas. Choose this for
ButtonChoice, Select, Checkbox, and ImageButtonChoice fields.
- Array - Use for fields that submit multiple inputs sharing the same name. Choose this for native HTML checkbox groups.
If you pick the wrong format, tag values may be missed or merged incorrectly.
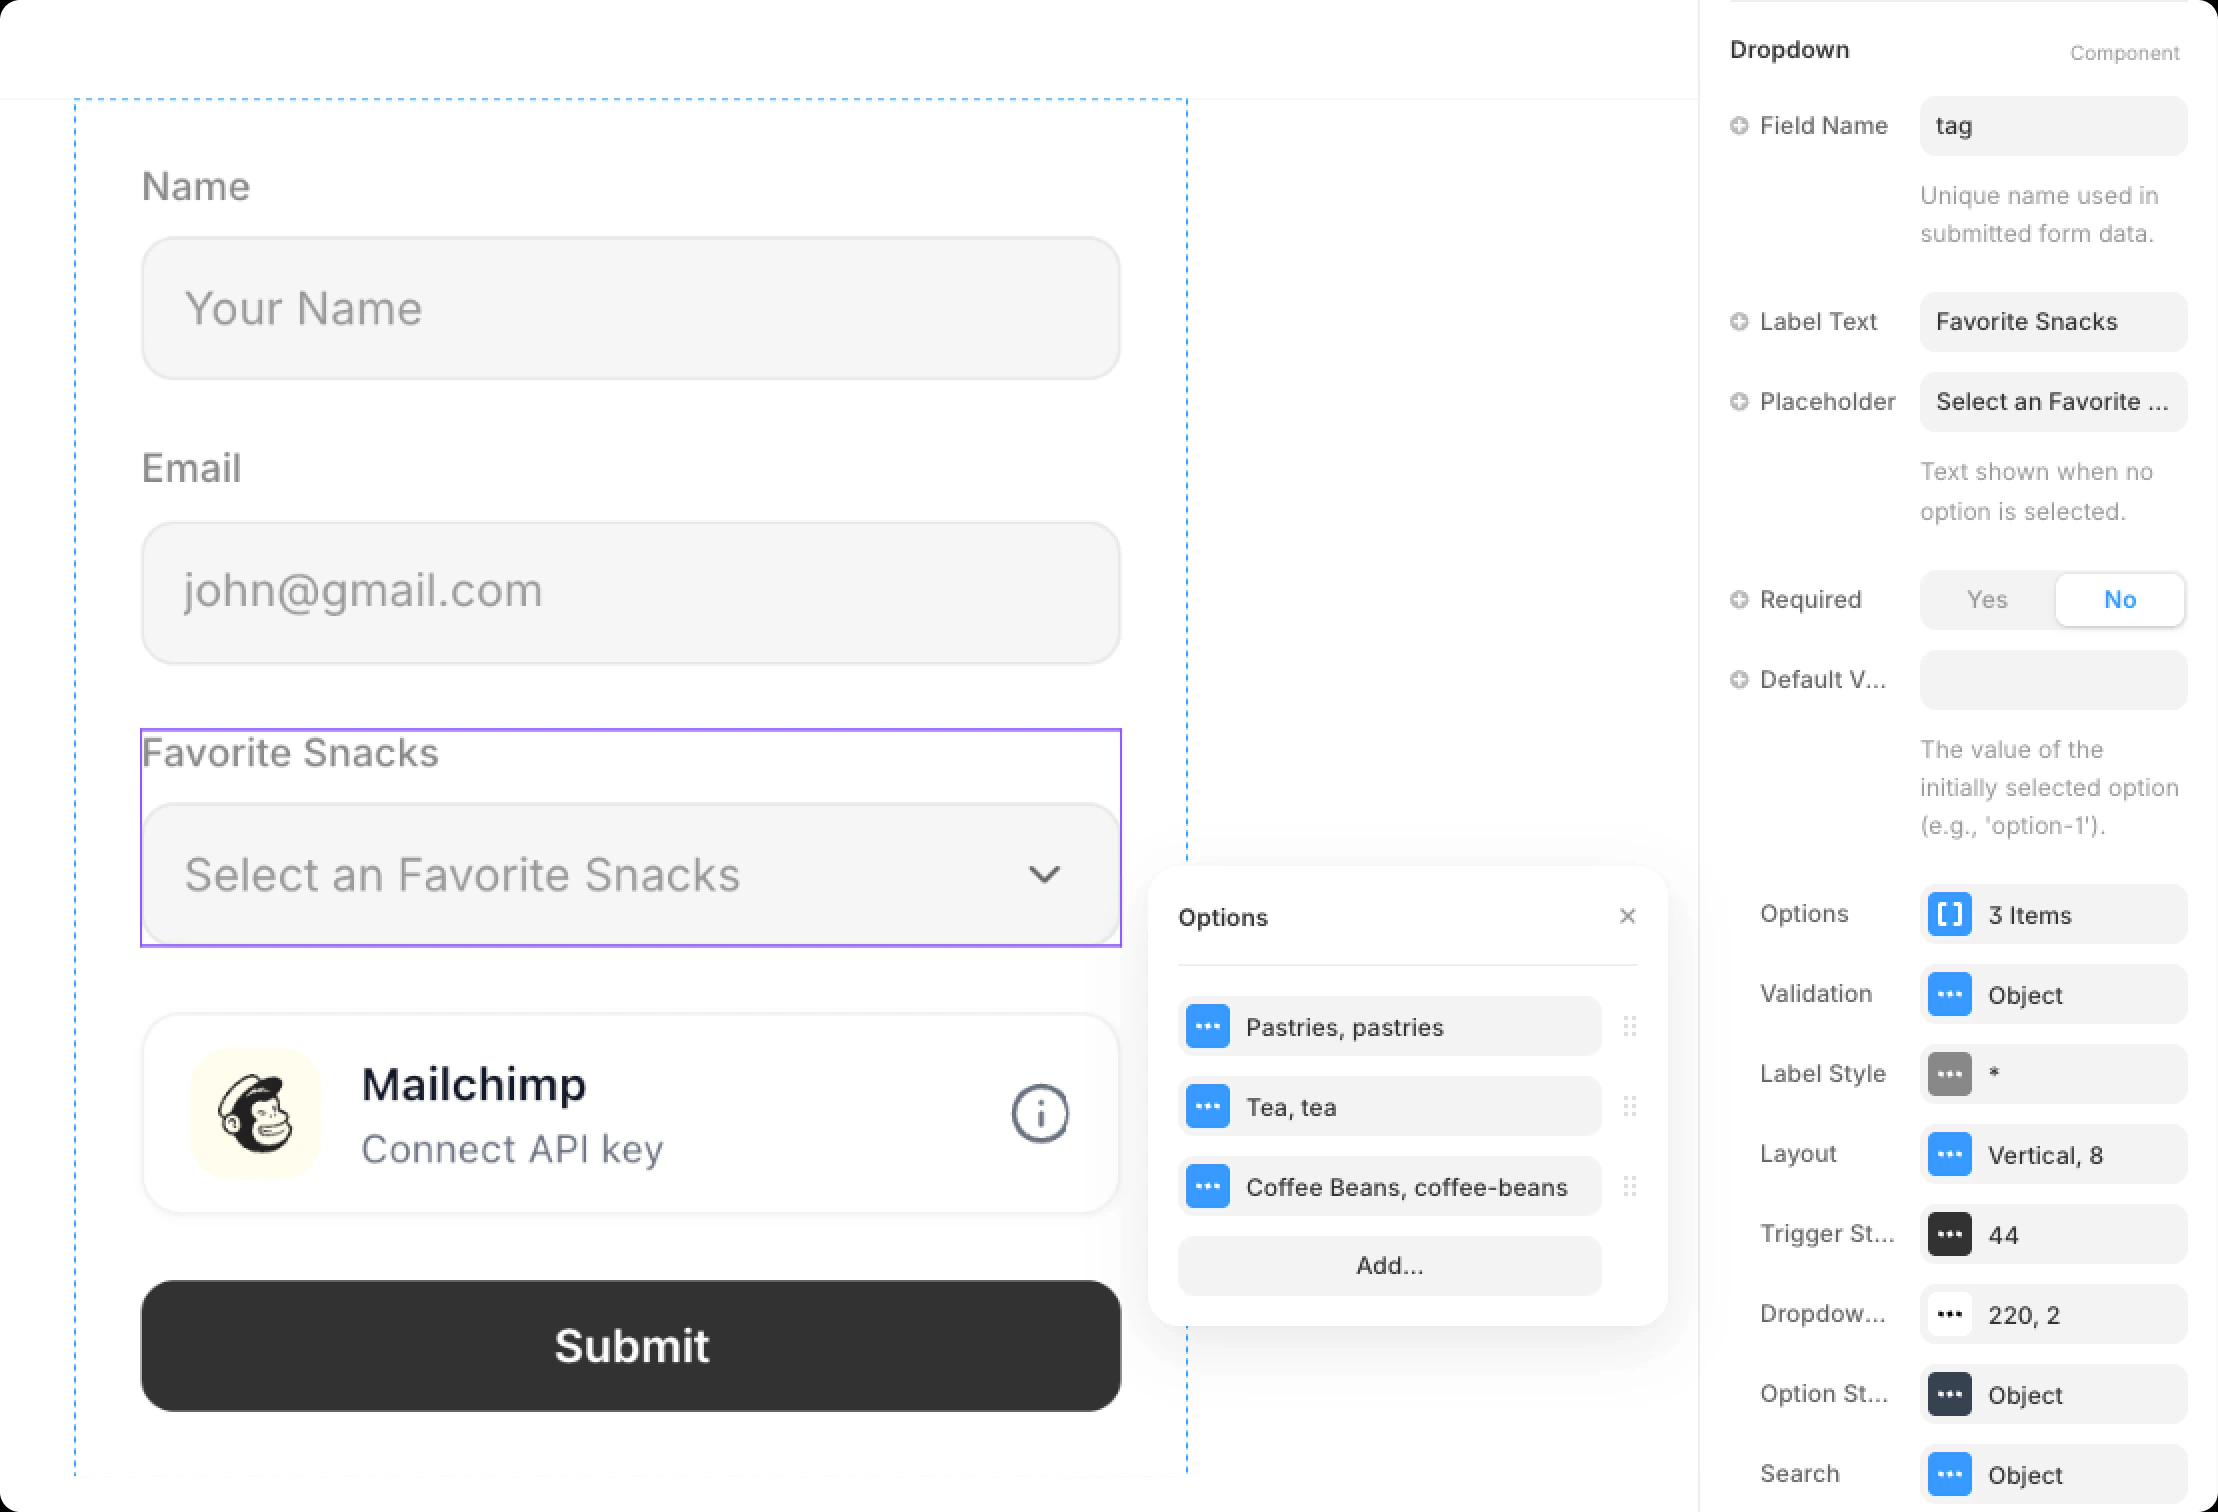
Field option values must be in kebab-caseThe value of each option becomes the tag name in Mailchimp - not the visible label. Set option values in lowercase kebab-case (e.g., value="coffee-beans", not Coffee Beans). Otherwise, your Mailchimp tags will appear with spaces or unexpected casing.
Example
Here is a real Framer form with a Dropdown component named tag and three options. The Field Name (tag) is what you enter in the Dynamic Tag modal, and the option values (pastries, tea, coffee-beans) are what become tags in Mailchimp.
| Option Label | Option Value | Tag Created in Mailchimp |
|---|
| Pastries | pastries | pastries |
| Tea | tea | tea |
| Coffee Beans | coffee-beans | coffee-beans |
pastries, a submission selecting “Coffee Beans” will be tagged with pastries and coffee-beans in Mailchimp.
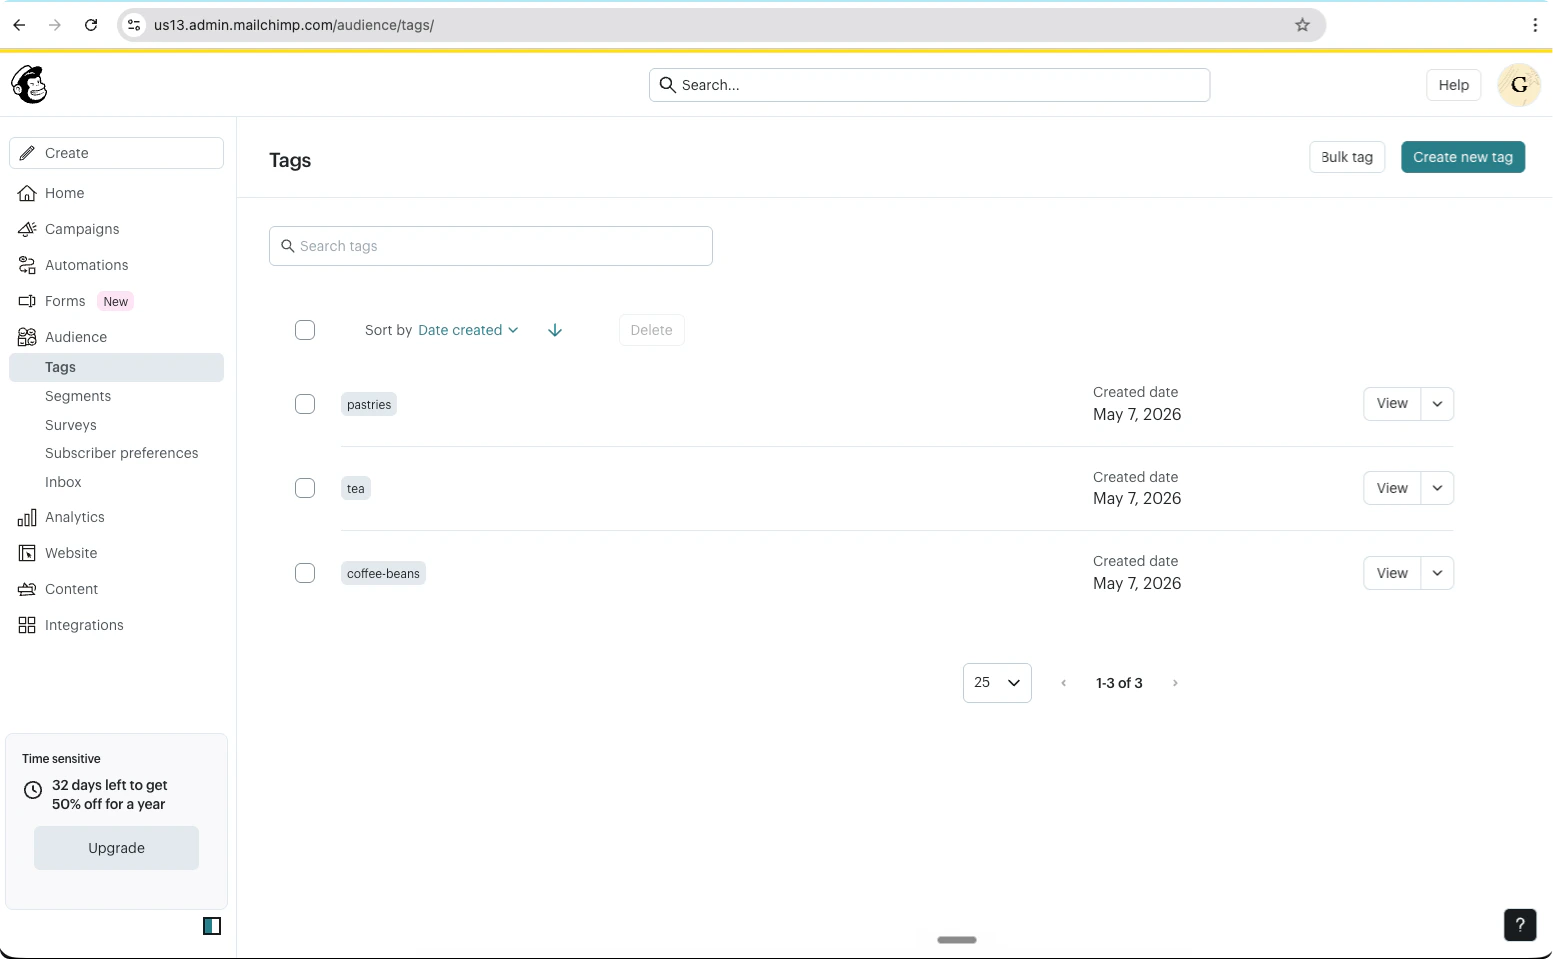
Tags applied from the Forms Plugin are created automatically in Mailchimp the first time they are used - you do not need to pre-create them. To view, rename, or delete tags later:
- Open your Mailchimp account
- Go to Audience → Tags (direct link)
- From this page you can search existing tags, click Create new tag to add one manually, or use Bulk tag to apply a tag to multiple contacts at once
The URL path /audience/tags/ may vary by Mailchimp data center prefix (e.g., us1, us13, eu1). If the link above doesn’t open, navigate via Audience → Tags in the sidebar.
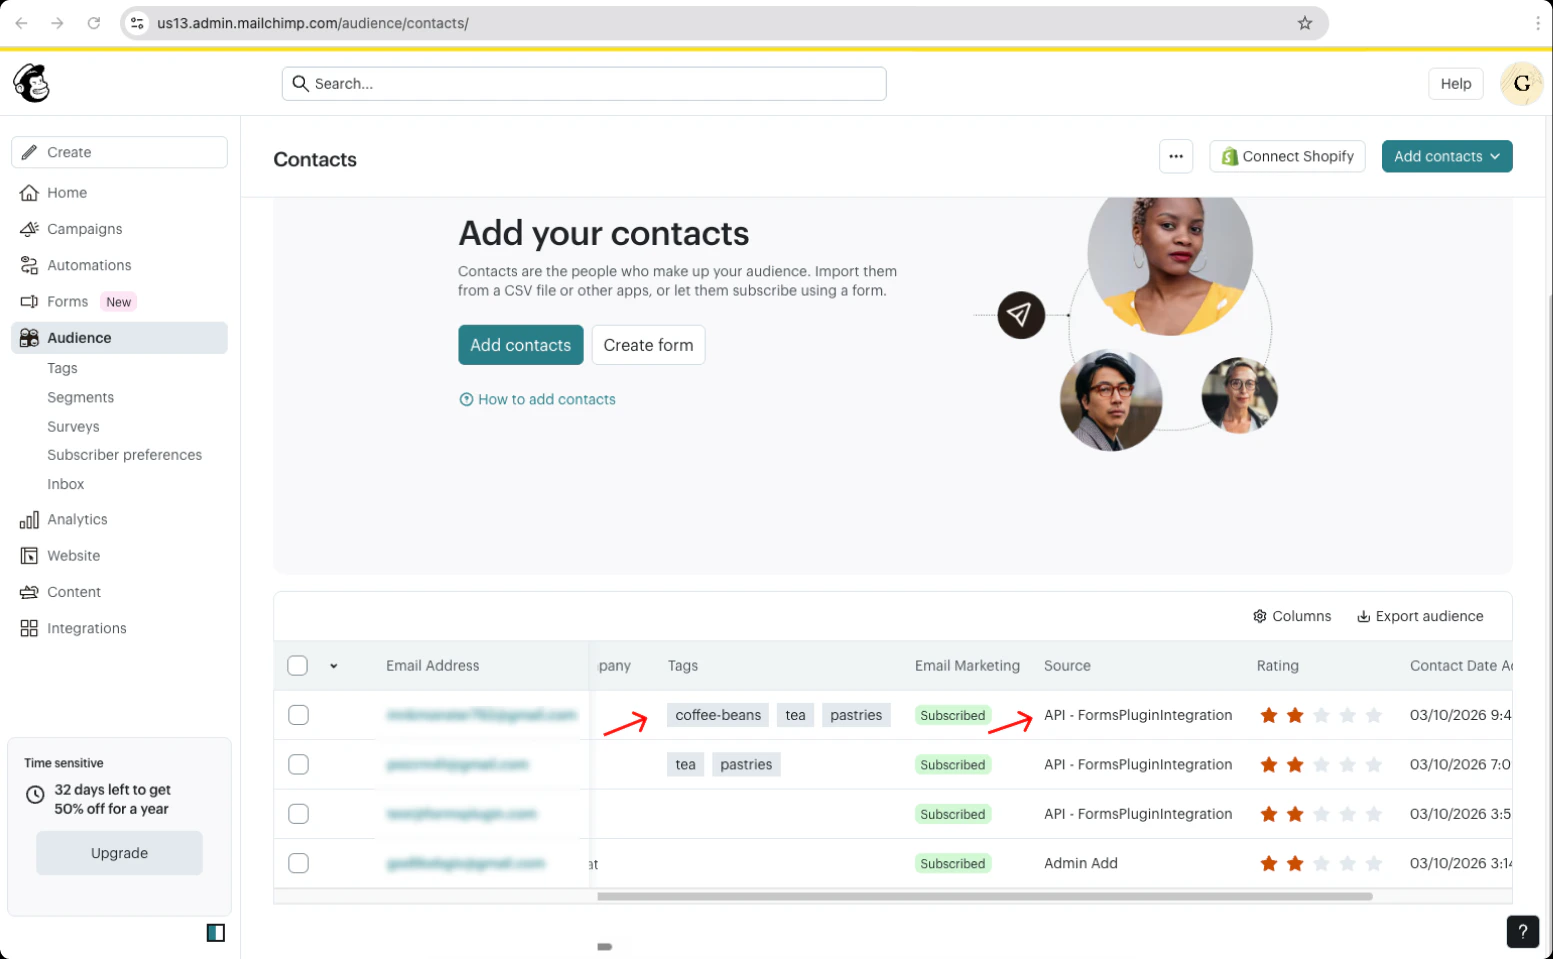
Step 6 - Result
When a user submits the form, their details will automatically be added to your Mailchimp audience along with any configured tags. You can verify new subscribers in your Mailchimp Audience dashboard.
In the Audience → Contacts view, the Tags column shows the tags applied to each contact, and the Source column shows API - FormsPluginIntegration for submissions that came in through the plugin.
Next Steps