Connect Drip with Framer Forms
Capture leads from your Framer forms and automatically add them to your Drip subscriber list using the Forms Plugin.
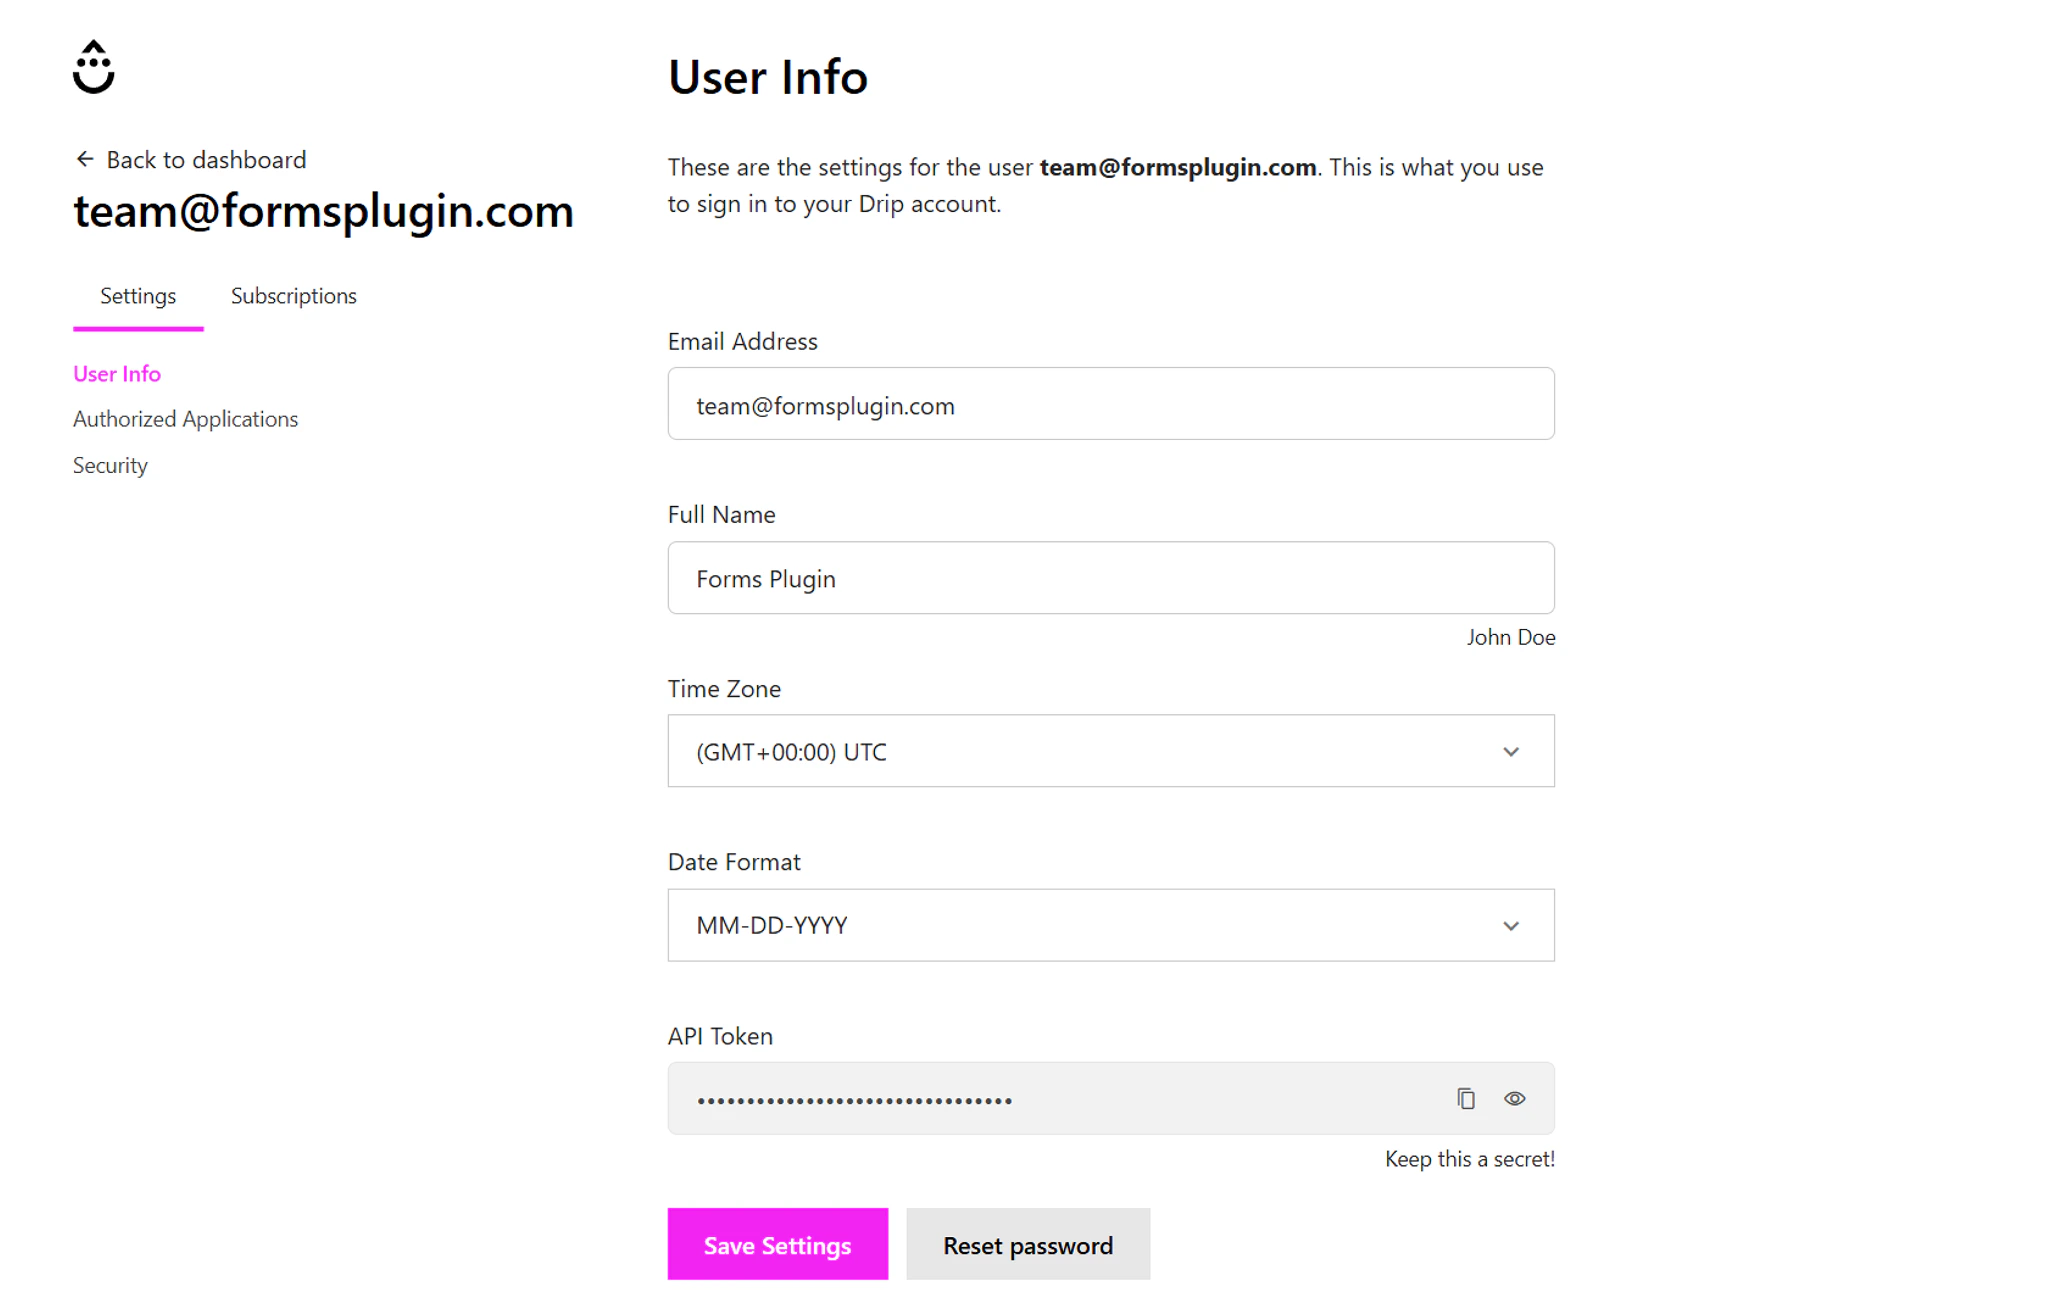
Step 1 - Get Your Drip API Key and Account ID
Before connecting Drip to your form, get your API key and Account ID from your Drip account. These allow the Forms Plugin to securely send form submissions to Drip.
- Login to your Drip account
- Navigate to Settings → User Info → API Token
- Copy your API Token
- Note your Account ID (visible in your Drip dashboard URL)
Keep your API key in a secure password manager. Never share it publicly or commit it to a code repository.
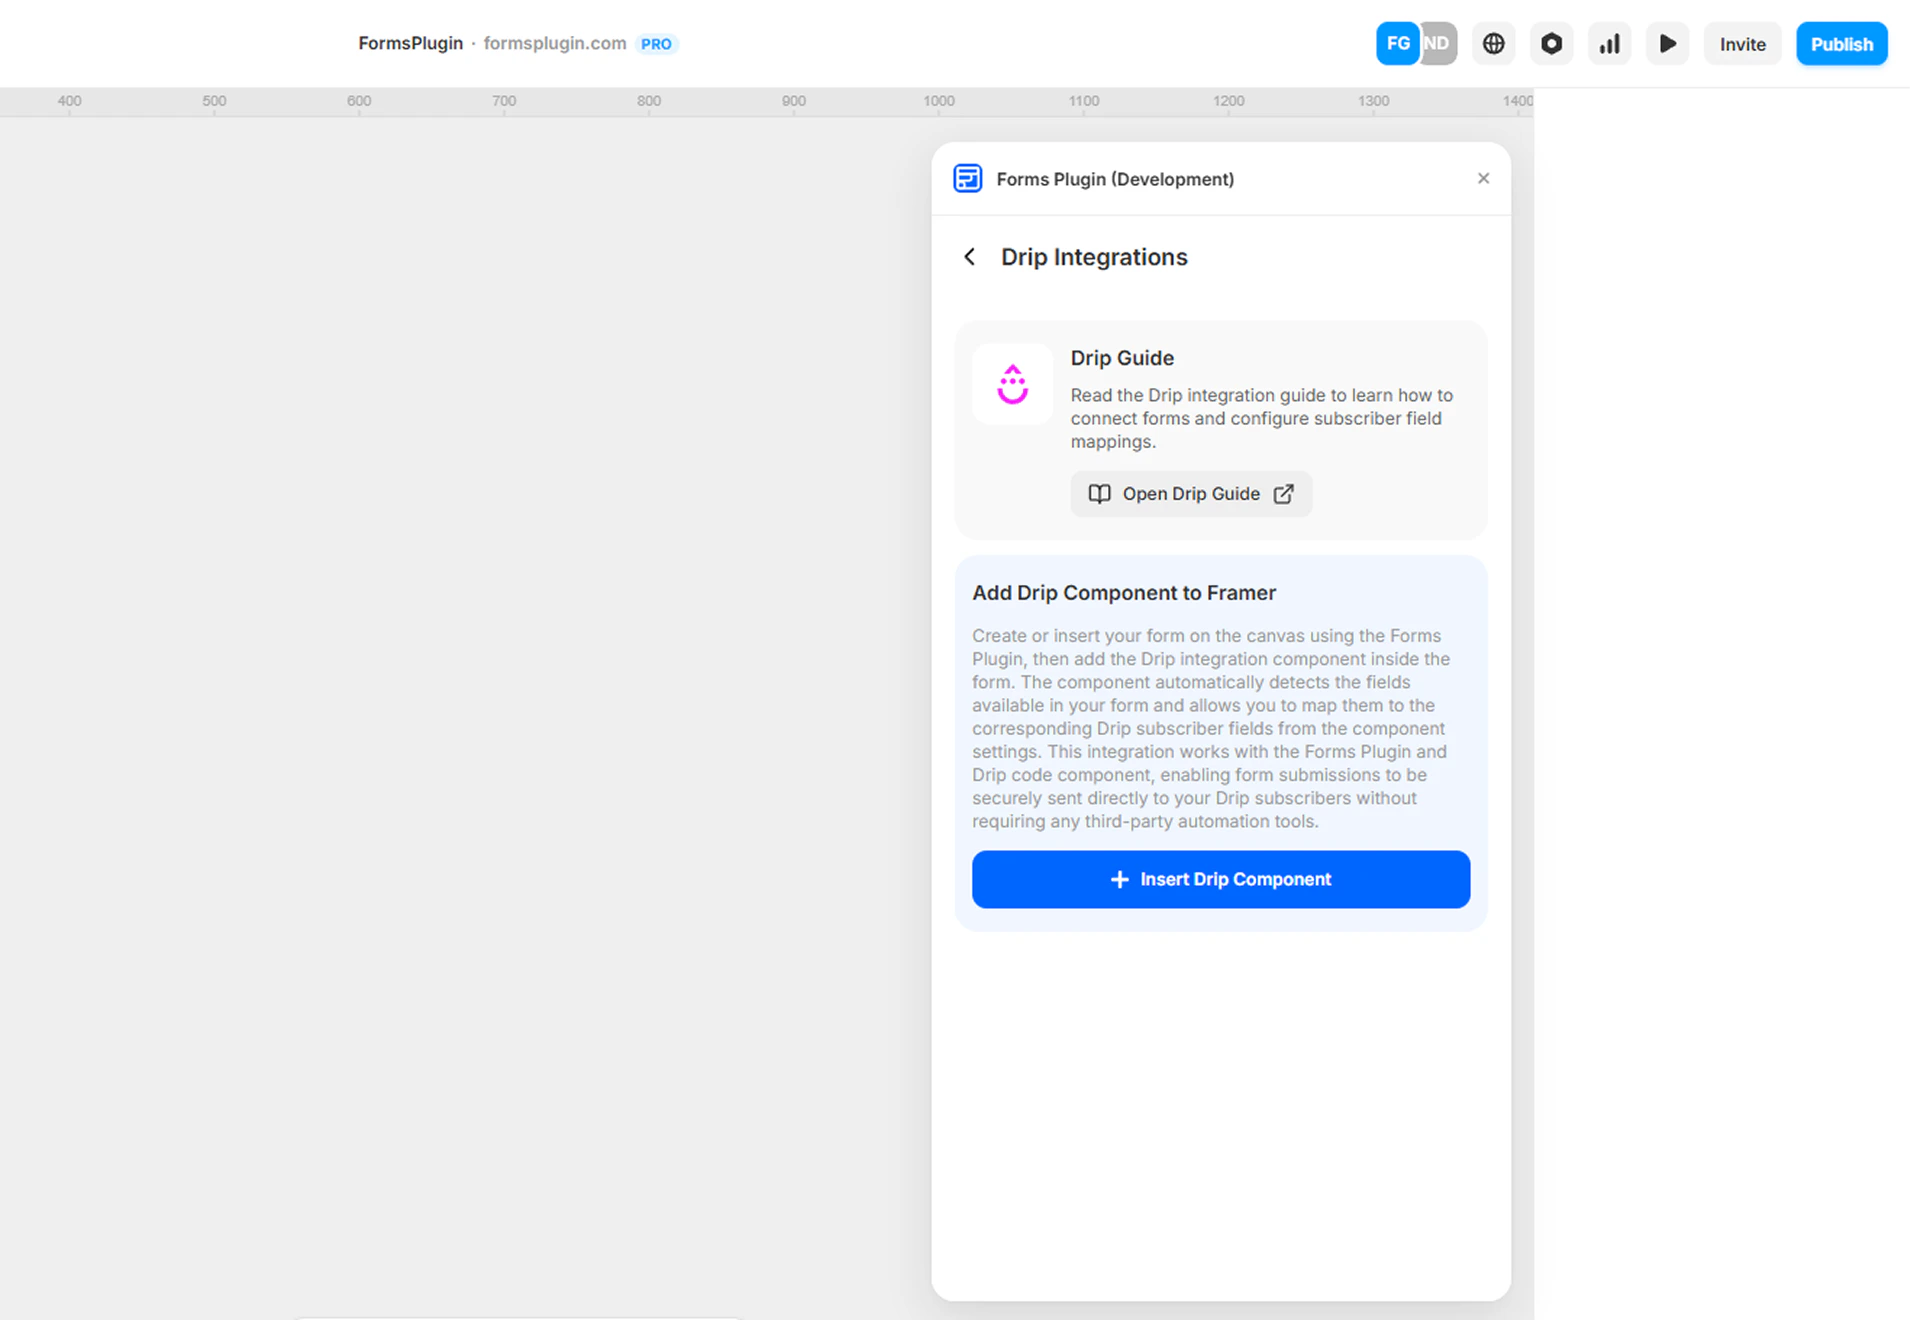
Select your form in the Framer canvas and insert the Drip component.
The component connects your form to Drip and automatically detects the form fields in your form layout.
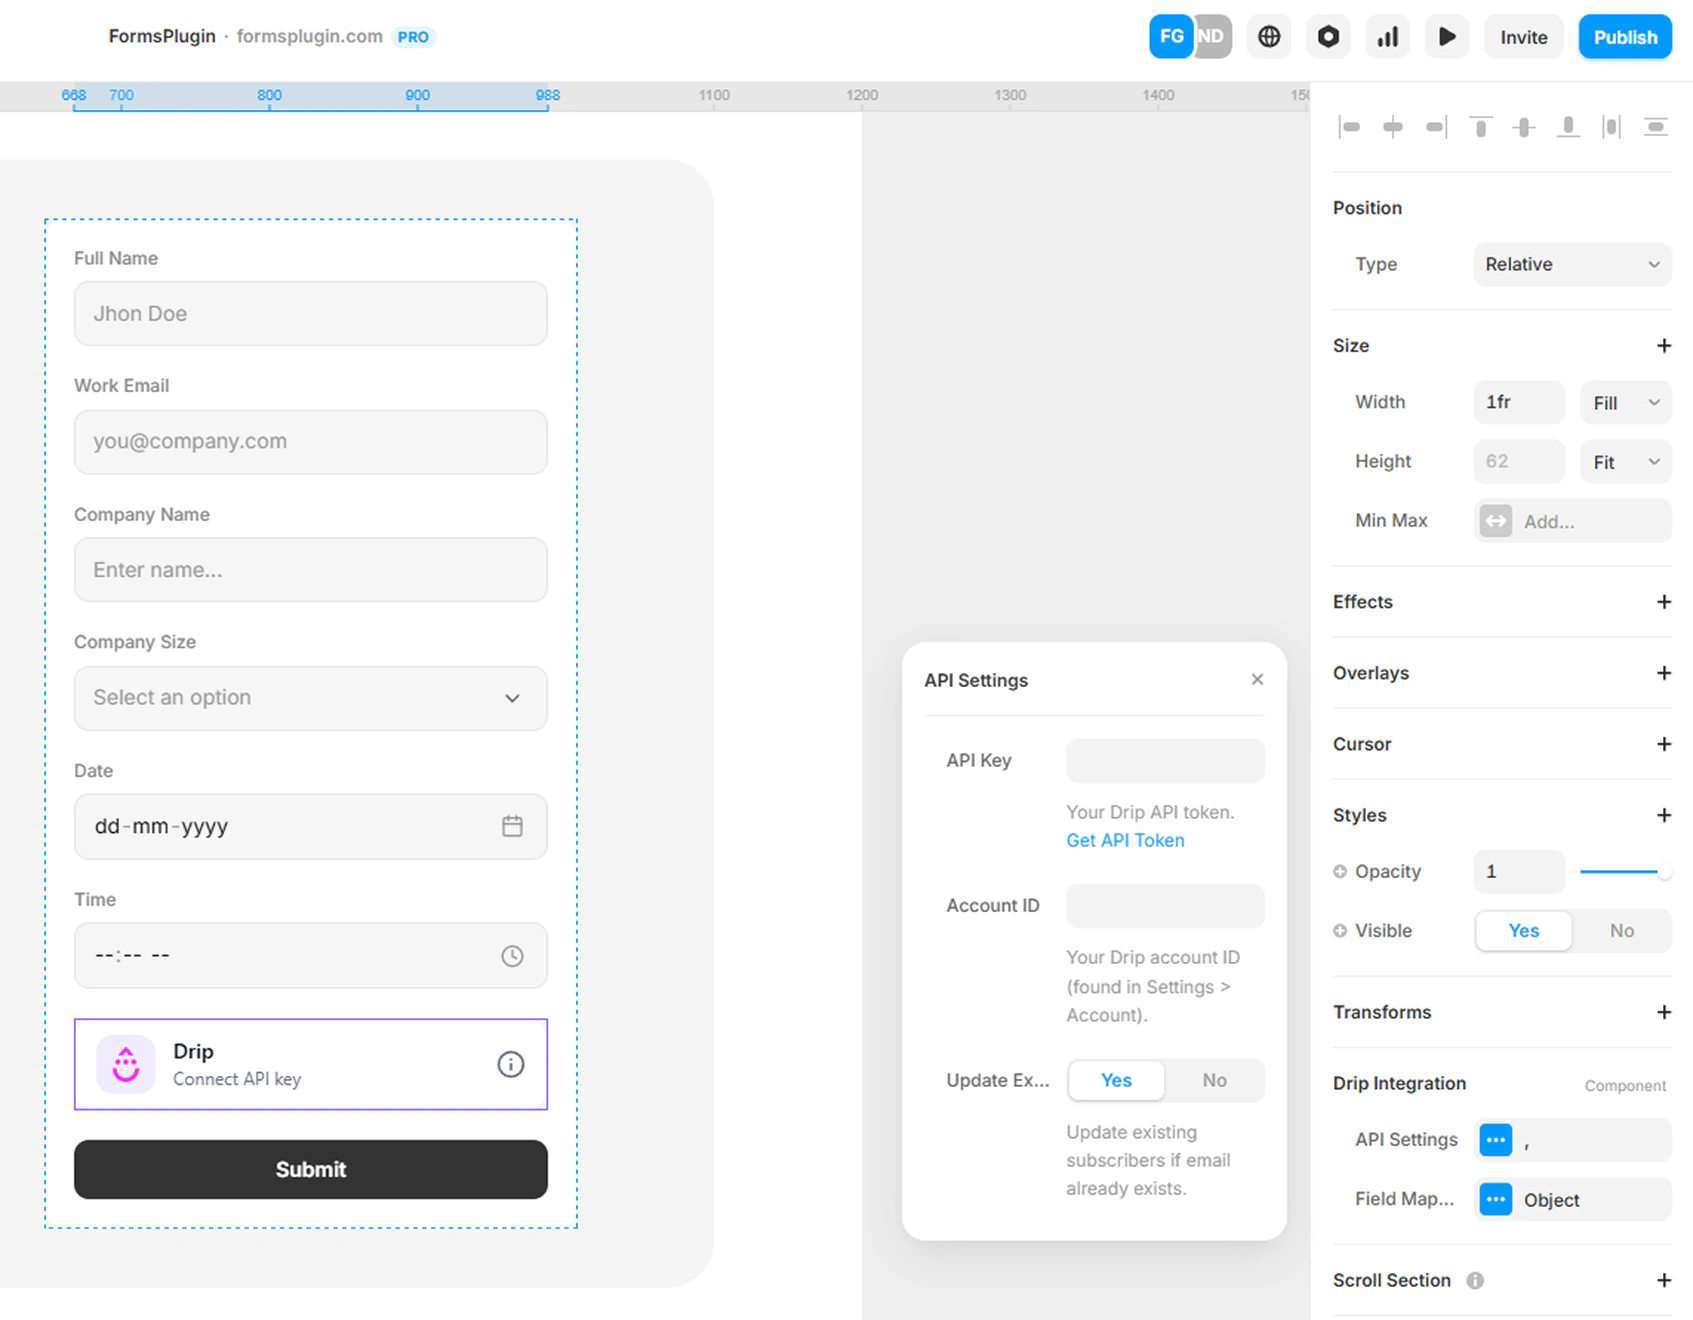
After inserting the Drip component, configure the API settings in the component properties panel.
- Select the Drip Integration component in your form
- Open the properties panel on the right side
- Paste your Drip API Key
- Enter your Account ID
Required Fields
- API Key - Paste the API token from your Drip account.
- Account ID - Enter your Drip Account ID.
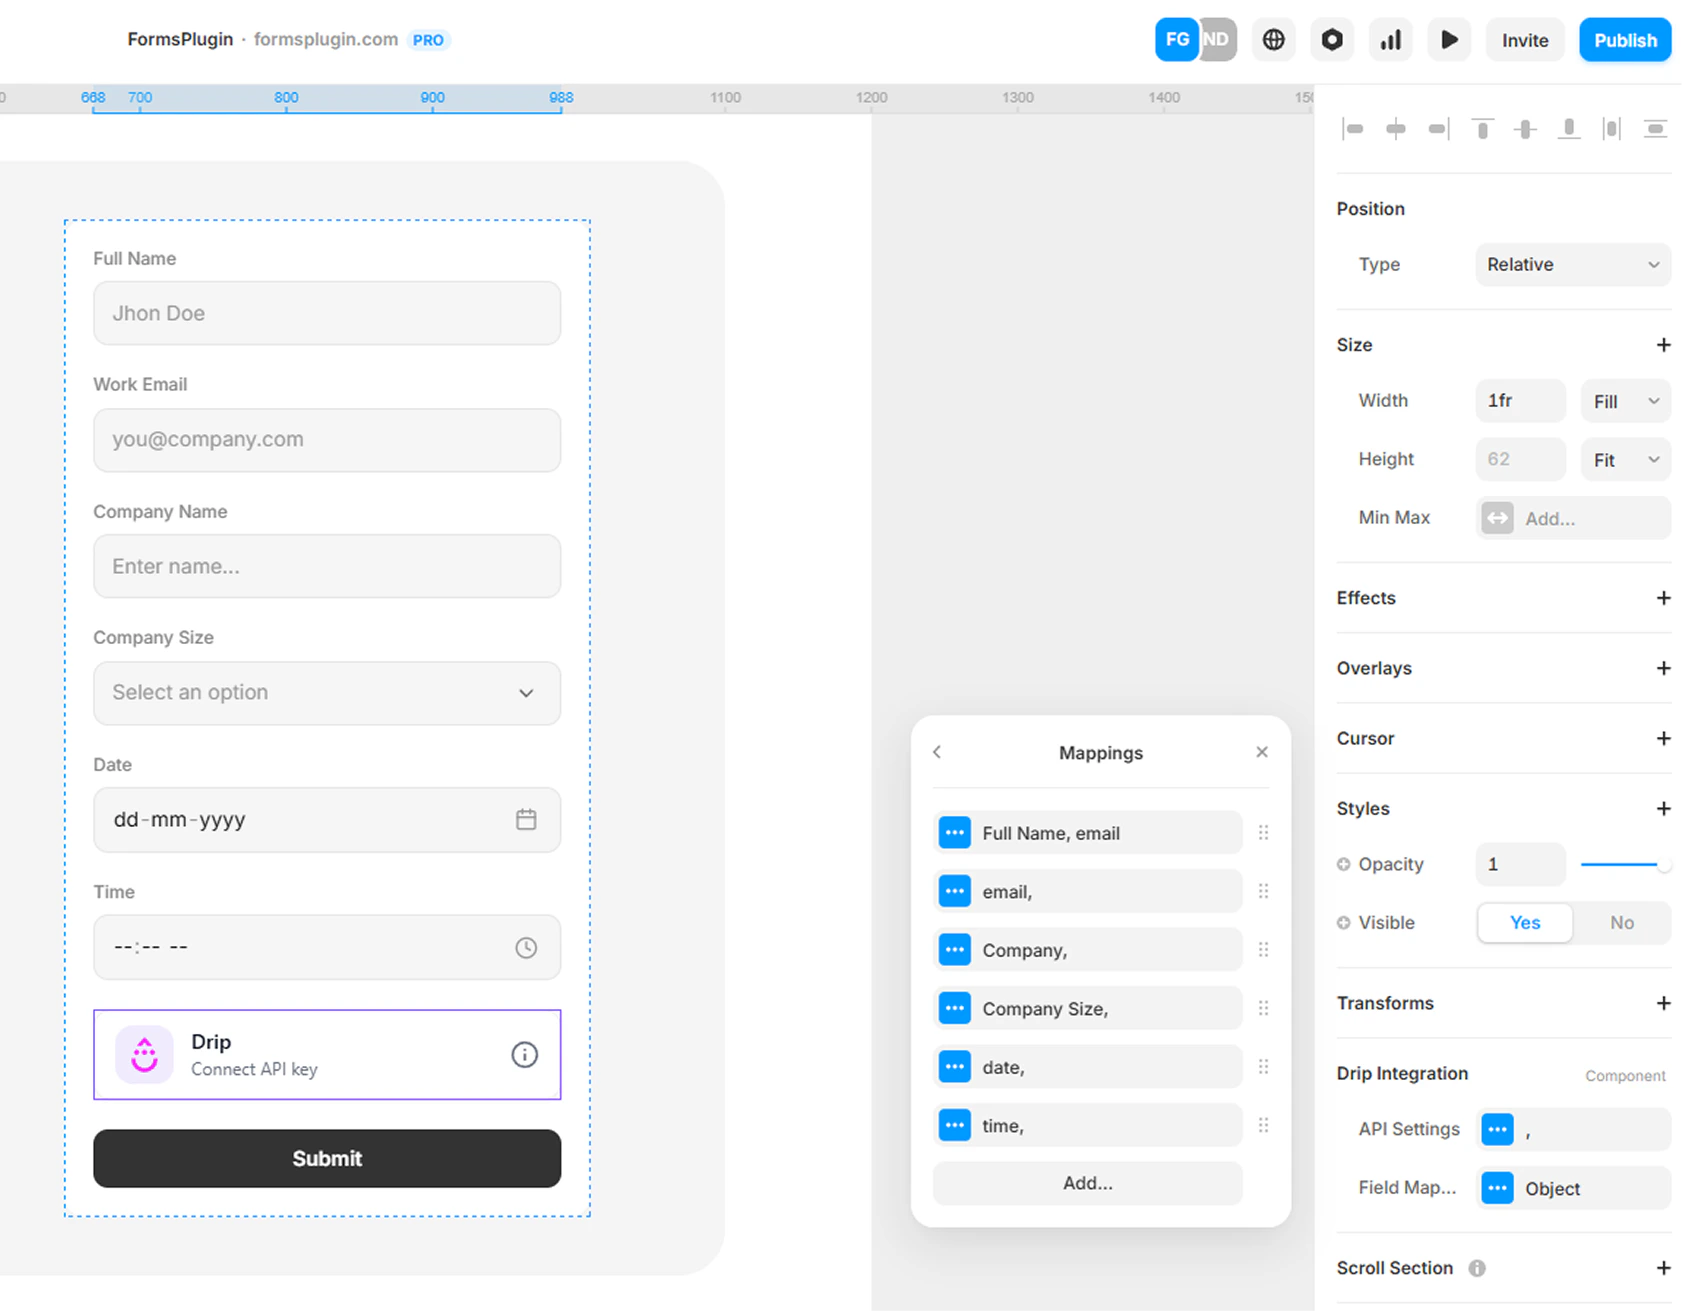
Map your form fields to Drip subscriber attributes.
The component automatically detects your form field names. You simply connect each field to the correct Drip attribute.
Example Mapping
| Form Field | Drip Attribute |
|---|
| email | email |
| firstname | first_name |
| lastname | last_name |
Step 5 - Result
When a user submits the form, their details will automatically be added to your Drip subscriber list. You can verify new subscribers in your Drip Subscribers dashboard.
Next Steps