Connect Brevo with Framer Forms
Capture leads from your Framer forms and automatically add them to your Brevo contact list using the Forms Plugin.Step 1 - Generate Brevo API Key
Before connecting Brevo to your form, generate an API key from your Brevo dashboard. This API key allows the Forms Plugin to securely send form submissions to your Brevo contact list.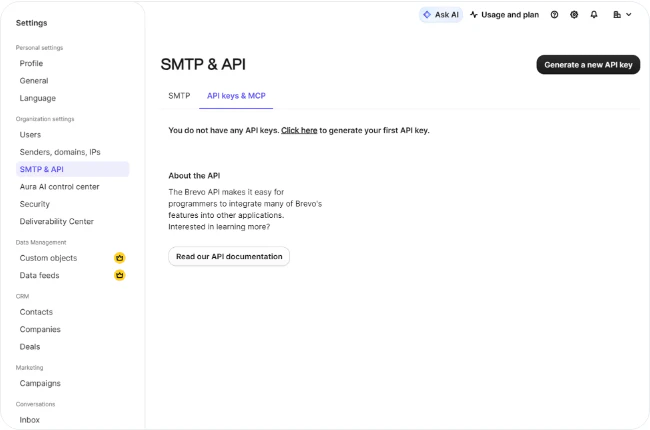
- Login to your Brevo account
- Open Settings
- Navigate to SMTP & API
- Open the API keys & MCP tab
- Click Generate a new API key
- Give it a name and copy the generated API key
IP Blocking - Keep It Deactivated for API KeysBy default, IP blocking is deactivated for API keys in Brevo, which is the recommended setting for the Forms Plugin to work correctly.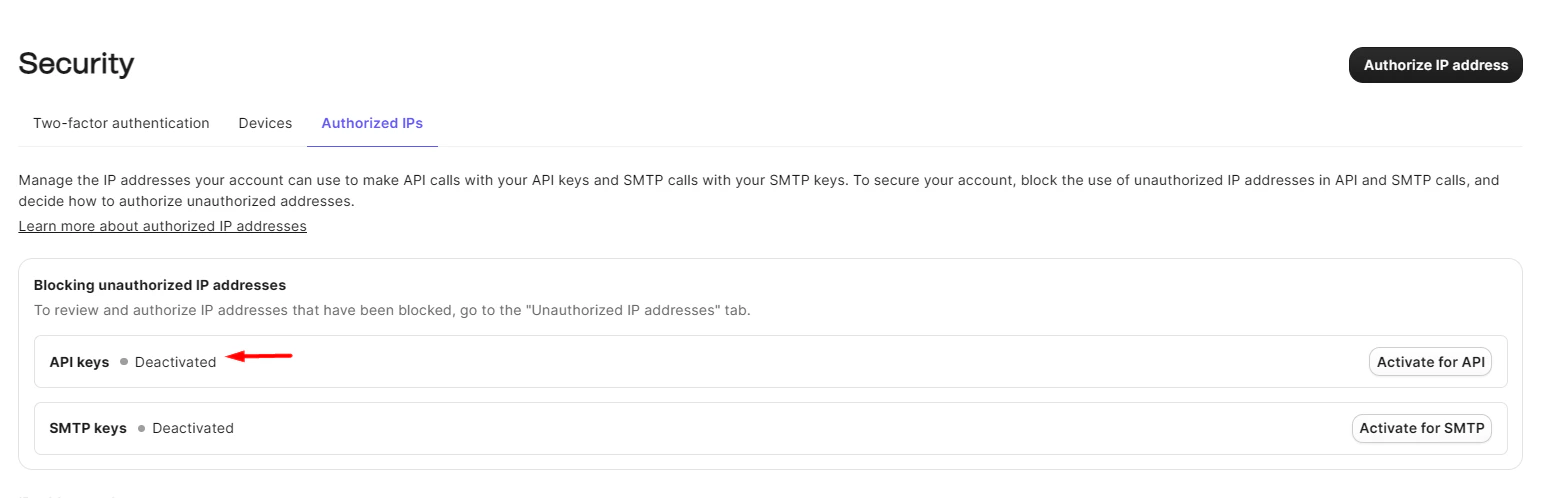
- Open Security → Authorized IPs
- Locate the API keys row
- If it shows Activated, click Deactivate (or remove the IP restriction)
Step 2 - Insert Brevo Component Into Your Form
Select your form in the Framer canvas and insert the Brevo component. The component connects your form to Brevo and automatically detects the form fields in your form layout.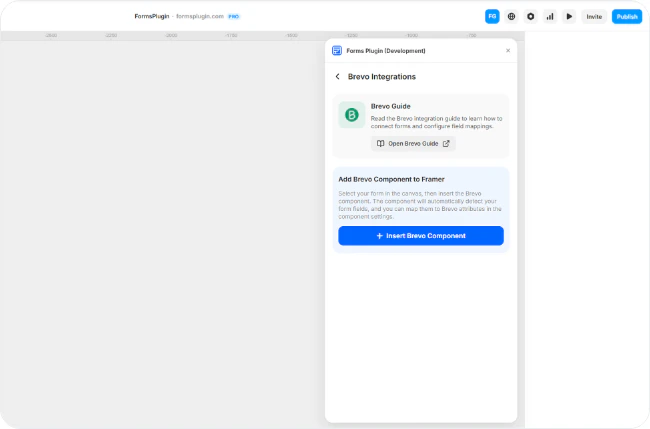
Step 3 - Configure Brevo API Settings
After inserting the Brevo component, configure the API settings in the component properties panel.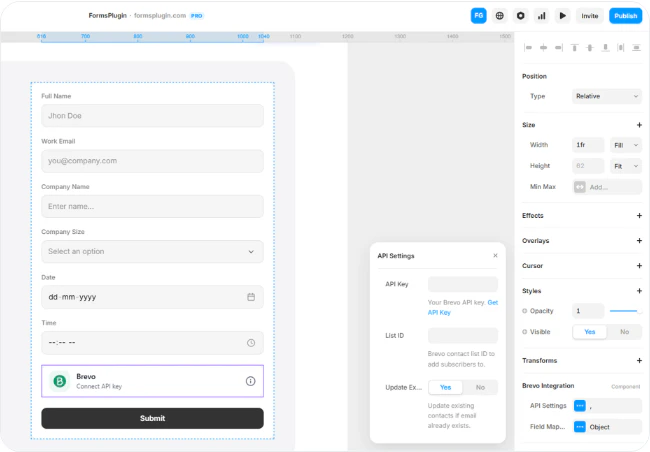
- Select the Brevo Integration component in your form
- Open the properties panel on the right side
- Paste your Brevo API Key
- Enter your Brevo List ID
Required Fields
- Brevo API Key - Paste the API key generated from your Brevo dashboard.
- Brevo List ID - Enter the Brevo contact list ID where new subscribers should be added.
Step 4 - Configure Field Mapping
Map your form fields to Brevo contact attributes. The component automatically detects your form field names. You simply connect each field to the correct Brevo attribute.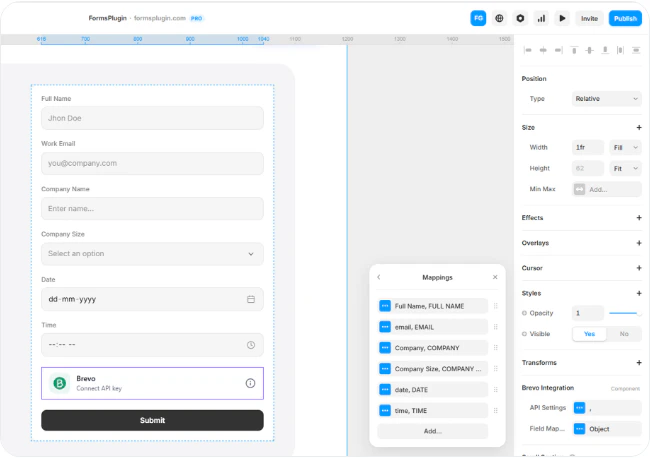
Where to Find Each Name
1. Form Field Name - Set in the field’s properties panel in Framer.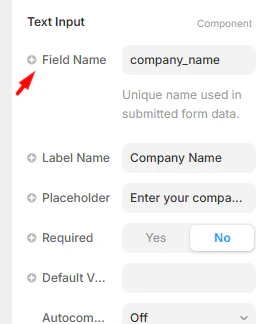
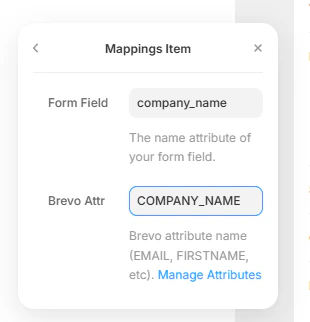
Example Mapping
| Form Field Name | Brevo Attribute |
|---|---|
| FIRSTNAME | FIRSTNAME |
| LASTNAME | LASTNAME |
| SMS | SMS |
| COMPANY_NAME | COMPANY_NAME |
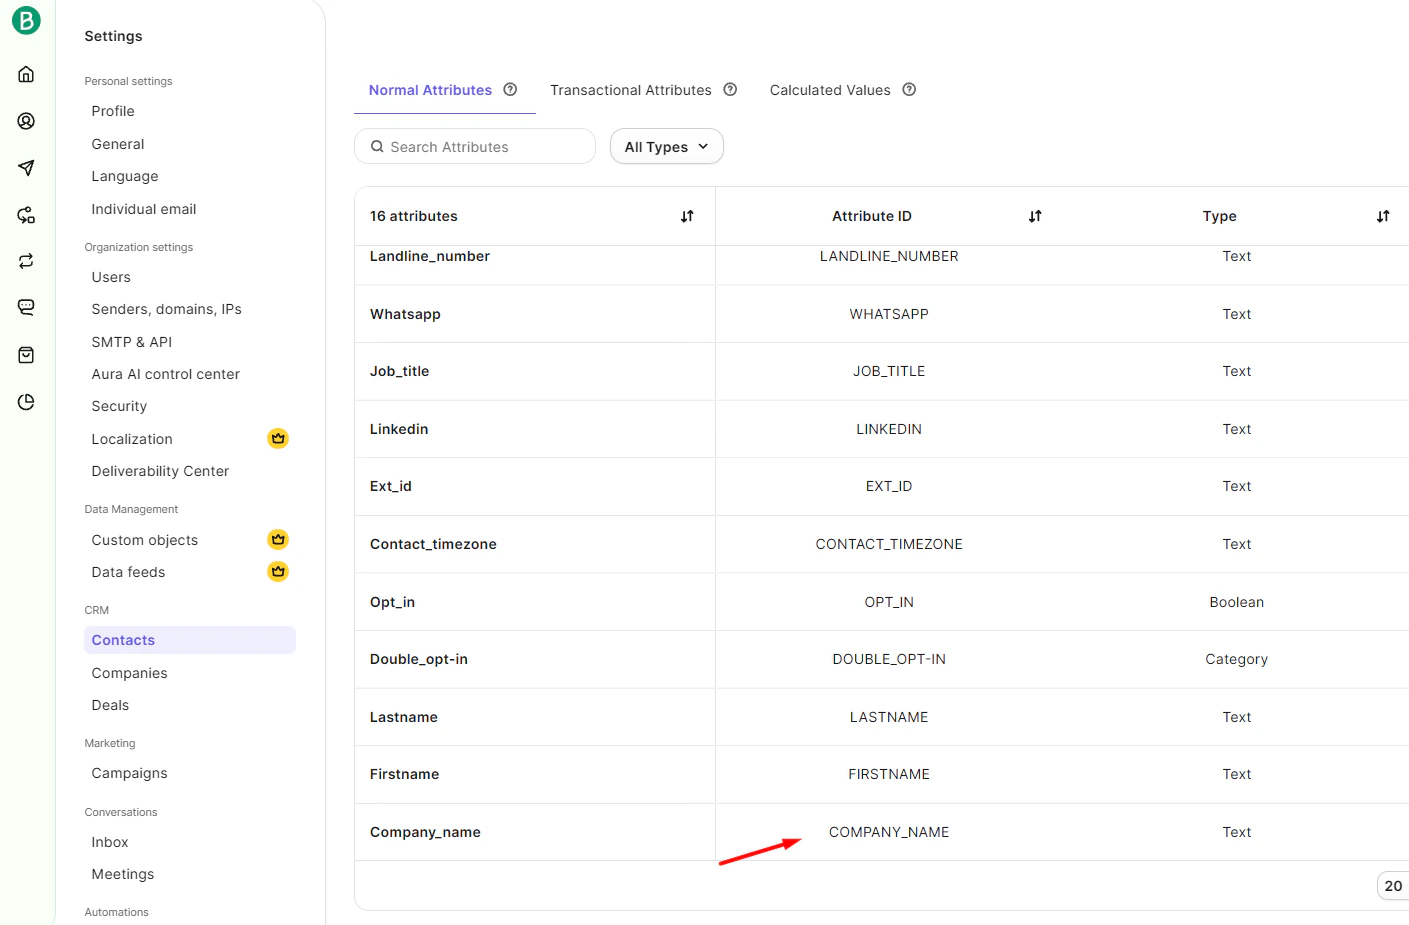
Step 5 - Add the Attribute to Your Contact List View
Even after data is synced correctly, new attributes (likeFIRSTNAME or a custom field) won’t appear as columns in your Brevo contact list until you add them to the list view.
- Open Brevo → Contacts
- Open the contact list connected to your form
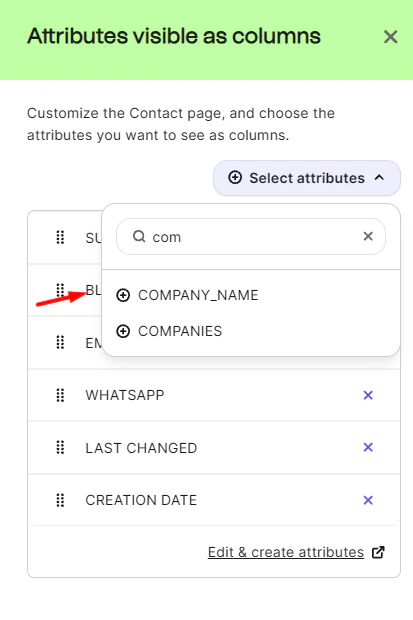
- Click Customize columns in the top right of the contact list

- In the Attributes visible as columns panel, click Select attributes and add the attributes you want to display (e.g.,
FIRSTNAME,LASTNAME,COMPANY_NAME)
- Save your changes
Step 6 - Result
When a user submits the form, their details will automatically be added to your Brevo contact list. You can then manage contacts, send campaigns, and set up automations directly from Brevo.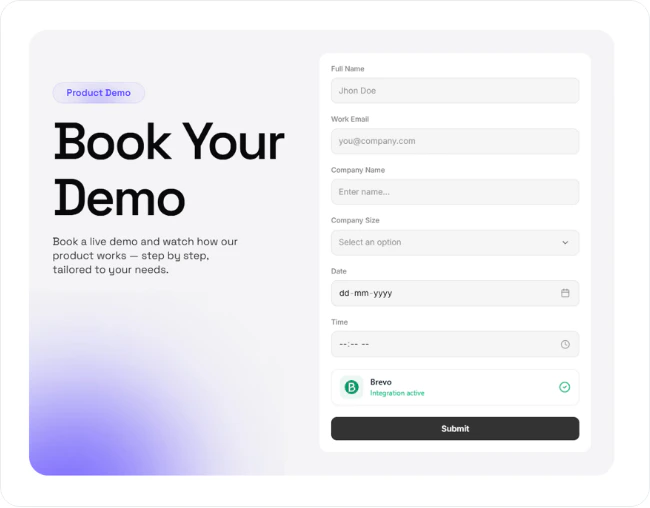
Troubleshooting
If submissions are not appearing in Brevo, check the following before reaching out to support:- Field names match exactly - Form field names and Brevo attribute names are identical, including casing.
- Attribute exists in Brevo - Each mapped form field has a matching attribute in Contact Attributes.
- Attribute is added to list view - Custom attributes are enabled as columns in your contact list.
- API key is valid - The API key is active and copied correctly into the component.
- List ID is correct - The List ID matches the list you want to populate.
- IP blocking is deactivated - Under Security → Authorized IPs, the API keys row is Deactivated.
Next Steps
- Integrations Overview
- Contact Support if you need help